User guide · Company panel
5 Stops
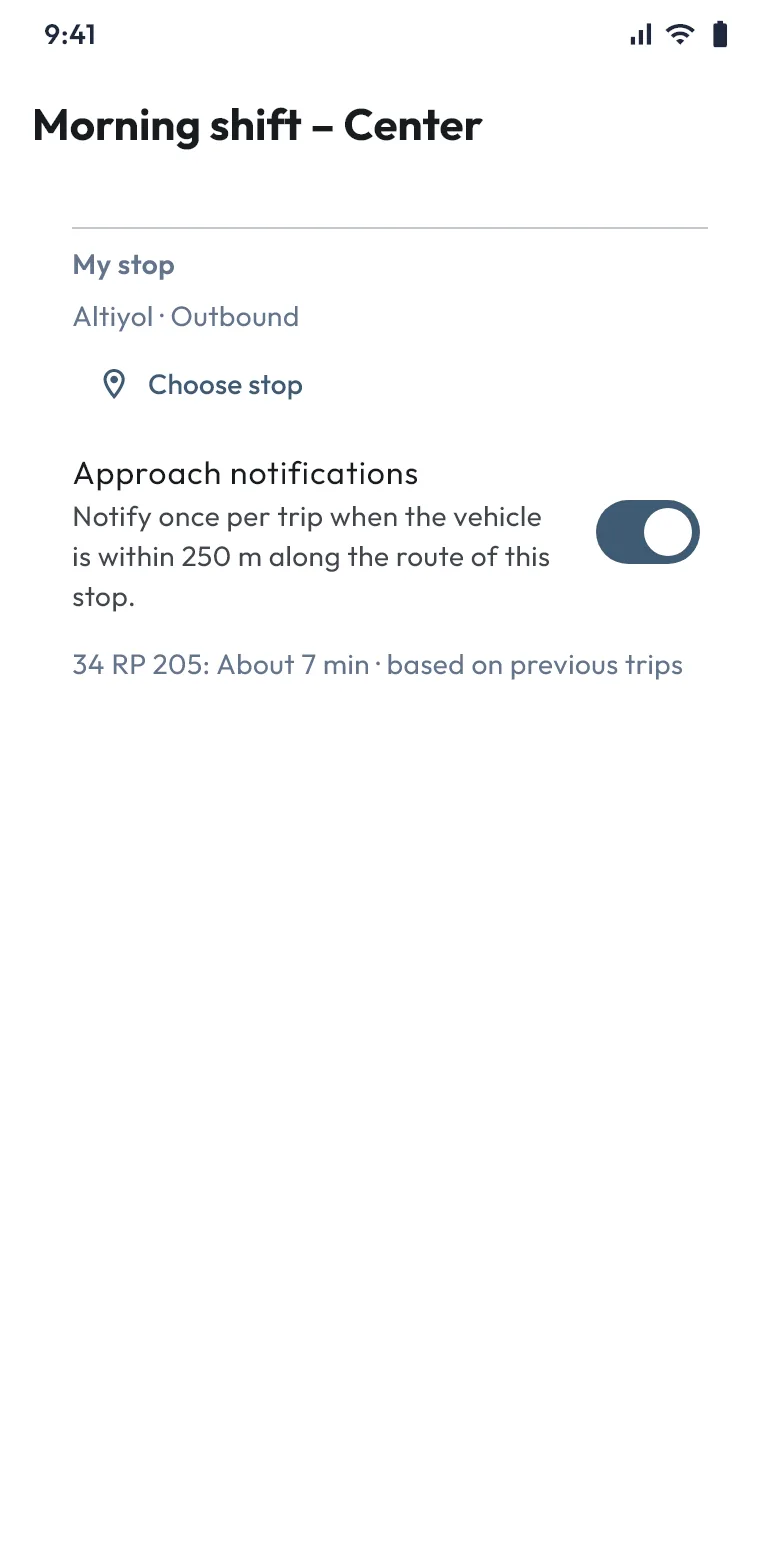
Stops are the points on a route where passengers get on. In the app each passenger chooses their stop, gets a notification when the vehicle approaches and sees the estimated arrival time.
Adding stops
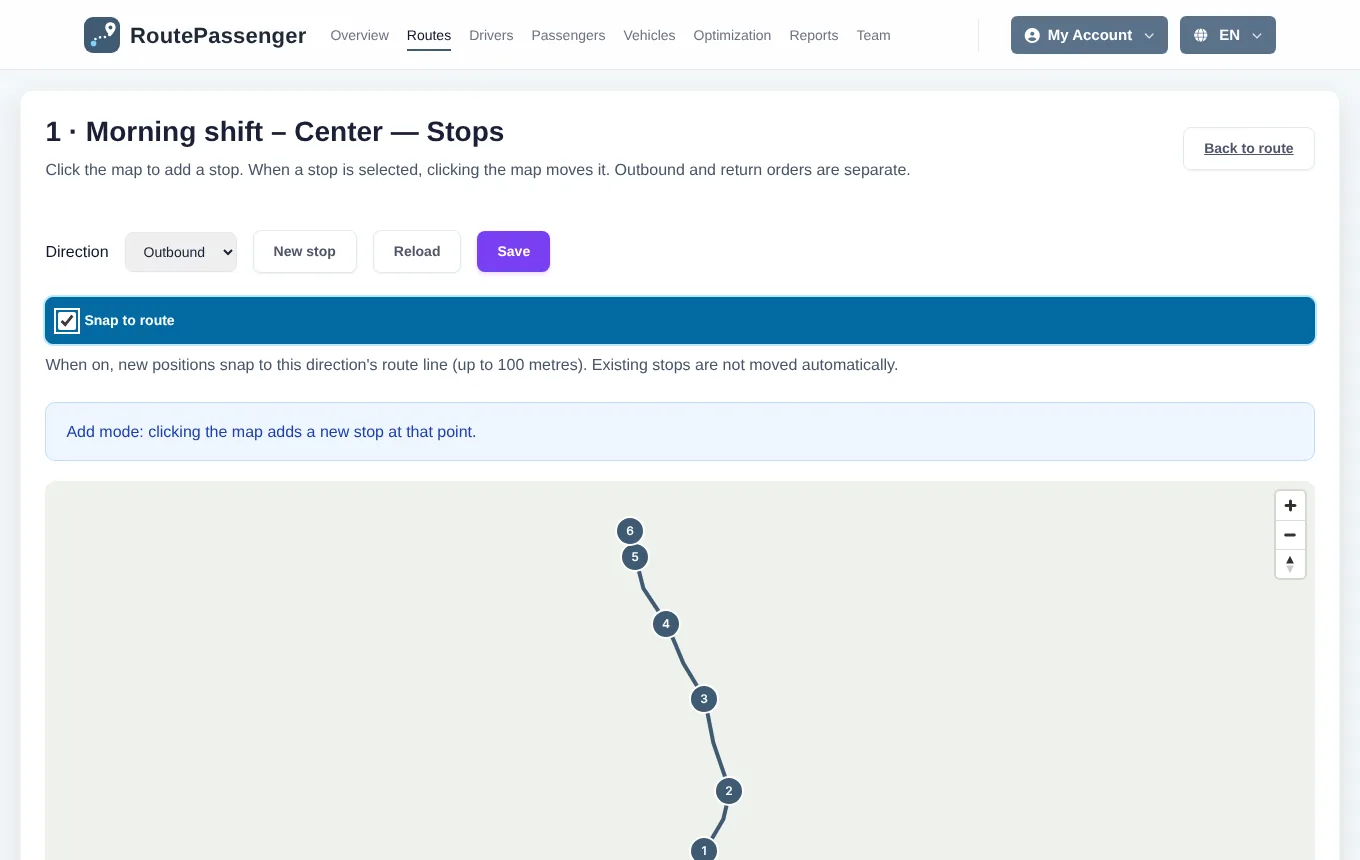
- In Routes, click Stops in the route's row.
- Choose Outbound or Return in the Direction menu. Each direction has its own stops and order.
- Click the stop's place on the map; the new stop is added to the list. Type its name in the list, for example "Bahariye".
- Change the order with Move up / Move down.
- Click Save. All stops are saved at once.
Snapping to the route
With Snap to route on (the default), a stop you add or move is placed on the nearest point of the selected direction's route line. A point more than 100 metres from the line is refused with a warning. Turn the option off to define a waiting point off the line.
Moving a stop
- Drag the stop's marker on the map, or
- click Edit location in the list (the button turns blue) and click the new place on the map. Click it again to return to adding new stops.
- If the map does not load, type the latitude and longitude in the list.
Deleting a stop
Remove the stop with Delete and save. If passengers chose this stop or your passenger records use it, the number of affected people is shown and you are asked to confirm. If you confirm, their stop choice is cleared; they can choose again in the app.
On the passenger side
In the Routes tab of Route Passenger, a passenger chooses their stop under My stop, turns on approach notifications and sees the vehicle's estimated arrival at the stop (Passenger app).